

1
Connect GitHub
On the dashboard’s CI page, click Connect GitHub to install the instabox GitHub App.
You can read what the App asks for under GitHub App permissions.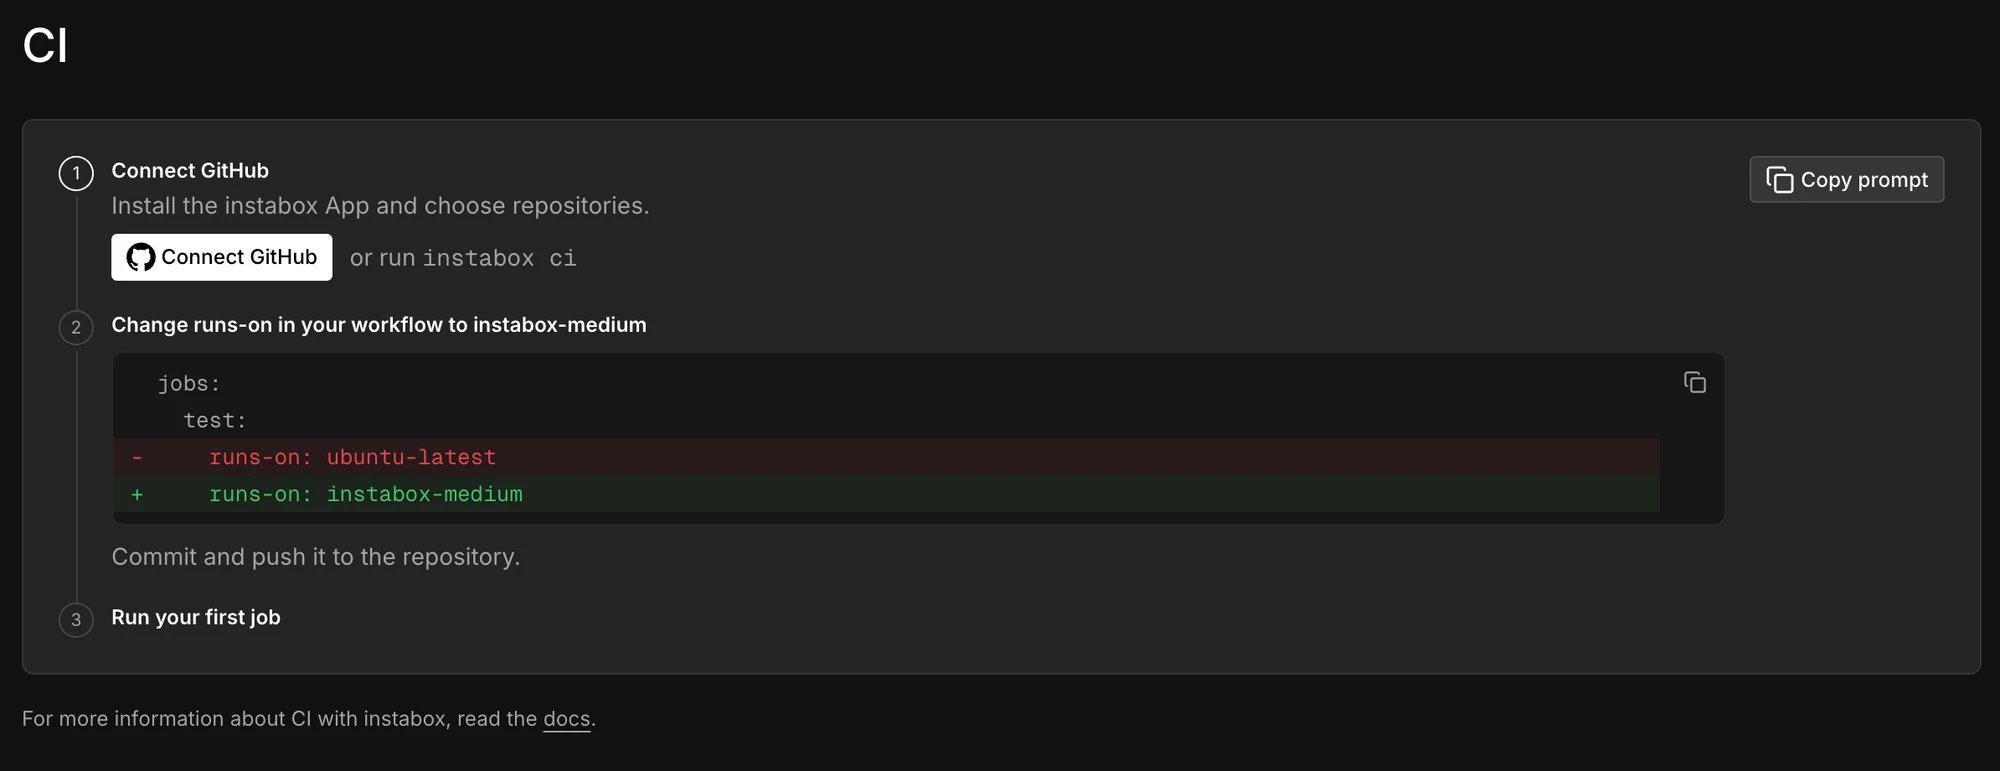
2
Change runs-on in your workflow
In your workflow file, set the job’s Each job with this label gets a fresh Ubuntu 24.04 machine that has the tools of GitHub’s
runs-on to an InstaBox label. instabox-medium is the
label that every plan can use.ubuntu-24.04 image, and the machine is deleted when the job ends.3
Push the change
Commit the workflow and push it. GitHub starts the job, and InstaBox gives it a machine.
4
See your jobs
When a job has to wait or is refused, GitHub shows it only as queued. To see your jobs and the
reason why one waits or was refused, open the dashboard’s CI page or list the jobs with
the CLI.The list shows your recent jobs with the newest first. Each row has the job’s size, its
state, and how long the job waited for a machine and ran.
GitHub App permissions
What the GitHub App asks for
What the GitHub App asks for
The instabox GitHub App asks for these permissions:
The App asks for nothing on your code, pull requests, issues, or workflows.
Why Administration?
Why Administration?
GitHub lets an App add a runner to a repository only through Administration. Personal accounts
have no organization-level runners, so Administration is the only way to run their CI.
Don't want to grant it?
Don't want to grant it?
You can call the CLI from any CI instead, which needs no GitHub App and only an API key, as
Run the CLI from any CI shows. On Enterprise, we can set up a
narrower App for your organization: contact us.
Choose a machine size
The labels for larger machines, and the plans that can use them.
Advanced: custom setup
Start every job with your toolchain, caches, and images already in place.